Adhering synthetic turf to concrete isn’t as easy as it looks. I have watched contractors having to pulling up entire sections of indoor glue down applications due to poor installation and not understanding the process. This can be an expensive repair. The removal of the existing adhesive can take days to remove to get the surface ready for reinstalling. This month Ask JW will teach you the proper way to lay out and adhere synthetic turf to a concrete surface.
“There is never enough time to do the job right, but always enough time to do it over”,…“don’t be this guy”…JW
Preparation of the concrete surface
The concrete surface must be clean and prepared properly to ensure that the adhesive/glue will penetrate and provide a strong bond for years to come. Removal of stains, gum, grease, oil, will prevent the adhesive from delaminating.
“Fail to plan… Plan to fail”
Prior to the delivery of the synthetic turf, it is important to take all measurements and provide a drawing or schematic of the areas to be installed. Create a list of every material and tool that will be needed for the “Glue Down” application. I recommend having all materials and tools onsite and staged prior to the installation. Once the installation starts, it is very unproductive having to stop and run get materials and tools.
Lay out of synthetic turf sections
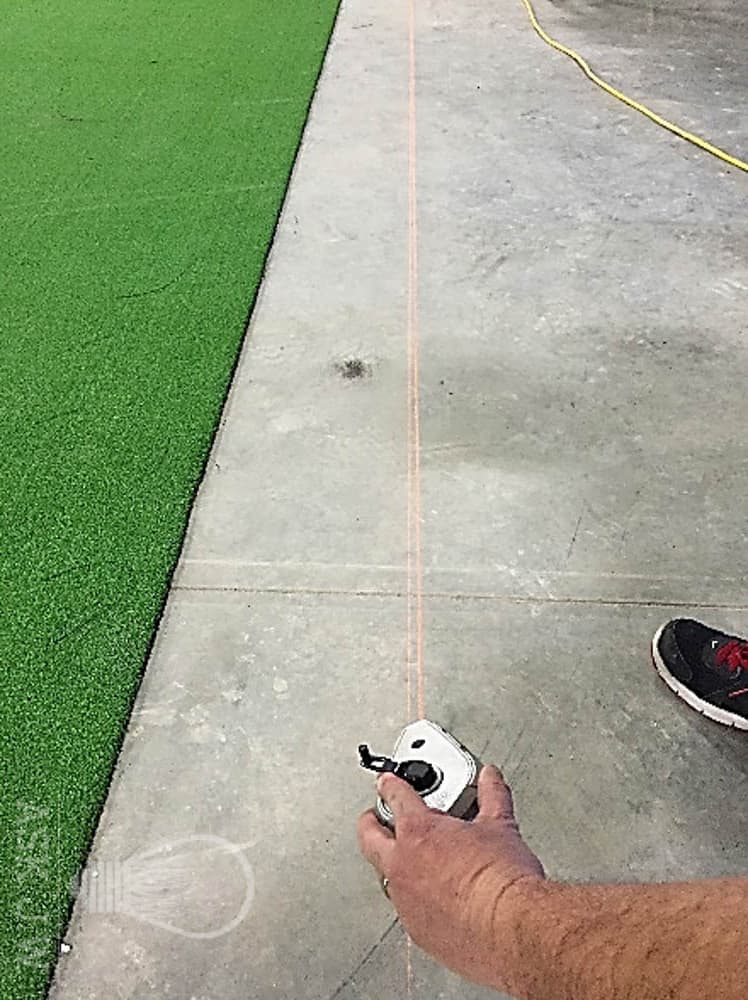
The drawing and schematic that you have created for the layout of sections of synthetic turf should start with the “seam connection”. I recommend snapping a colored chalk line on the concrete surface at all center of seams and exterior edges. This will not only give your workforce an idea of where to start and stop the “glue line”, but will allow the installer to understand the process throughout the installation and use this colored line as a reference.
Connections of Seams
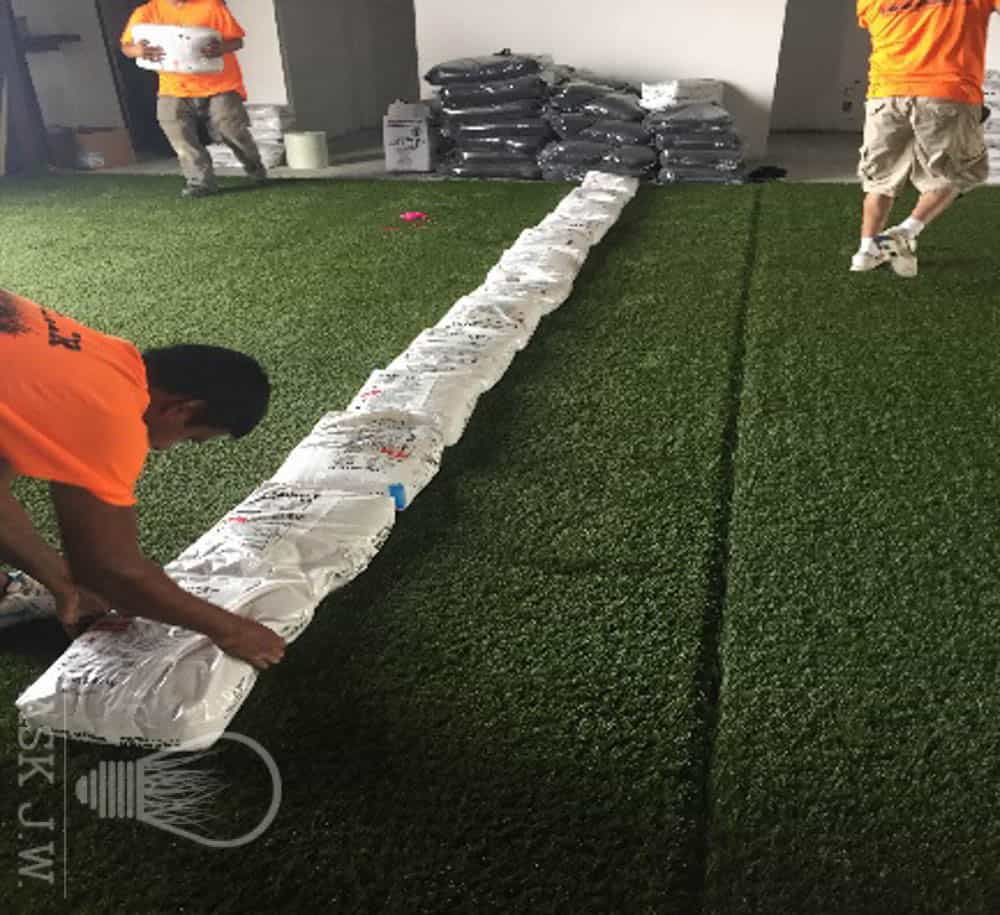
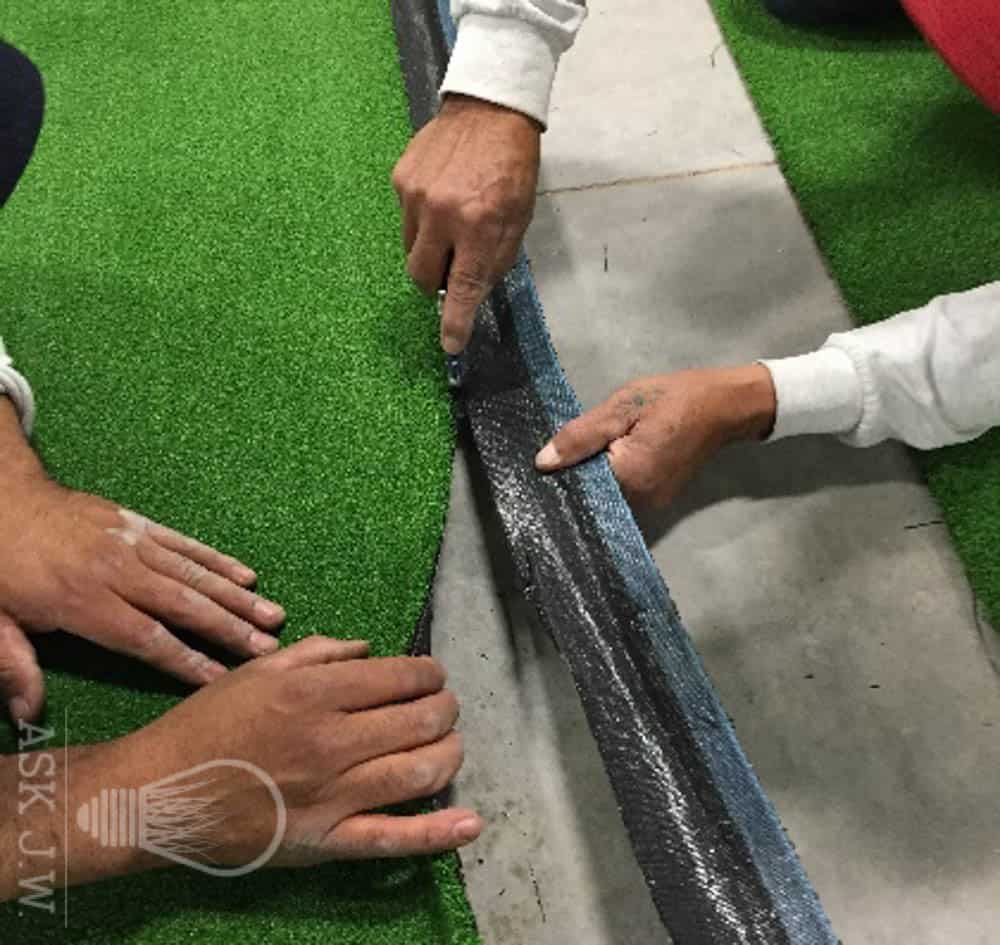
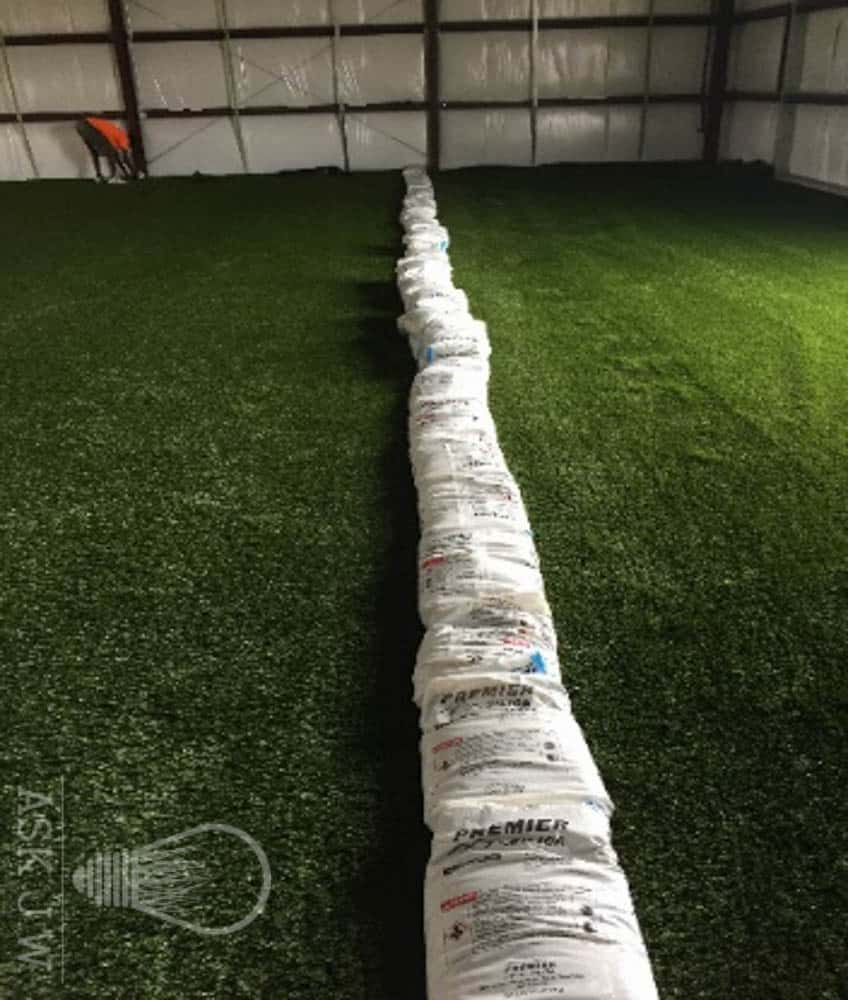
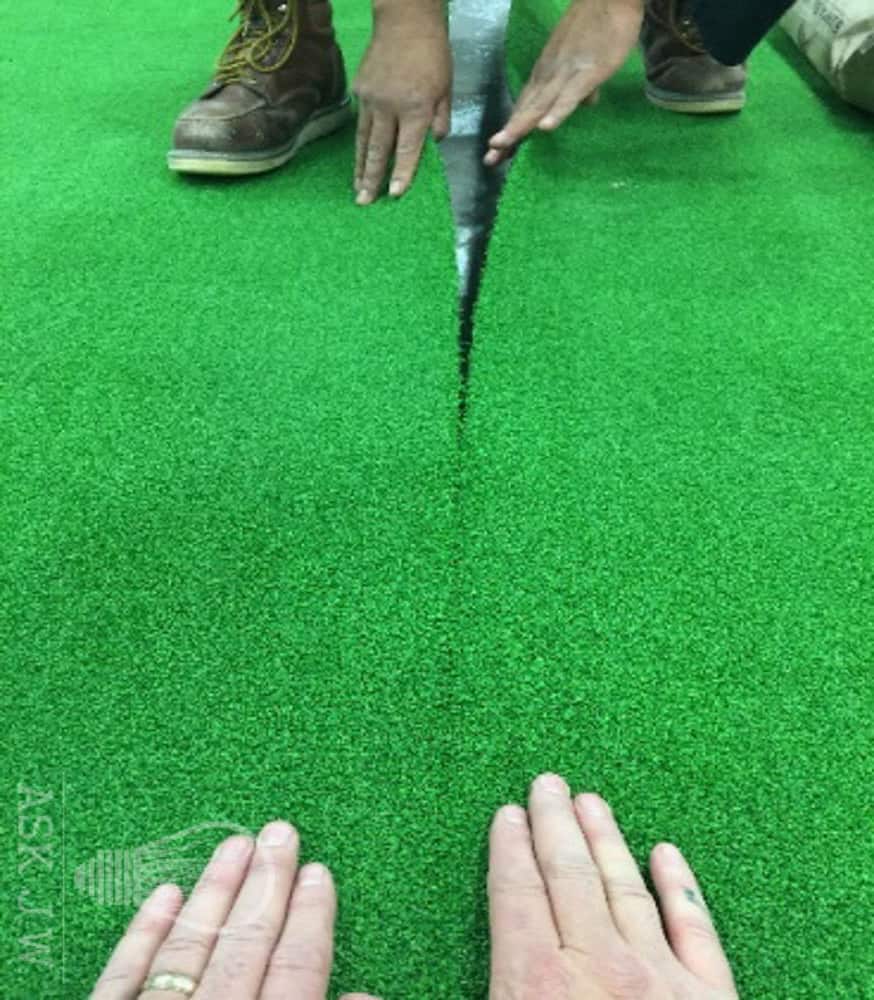
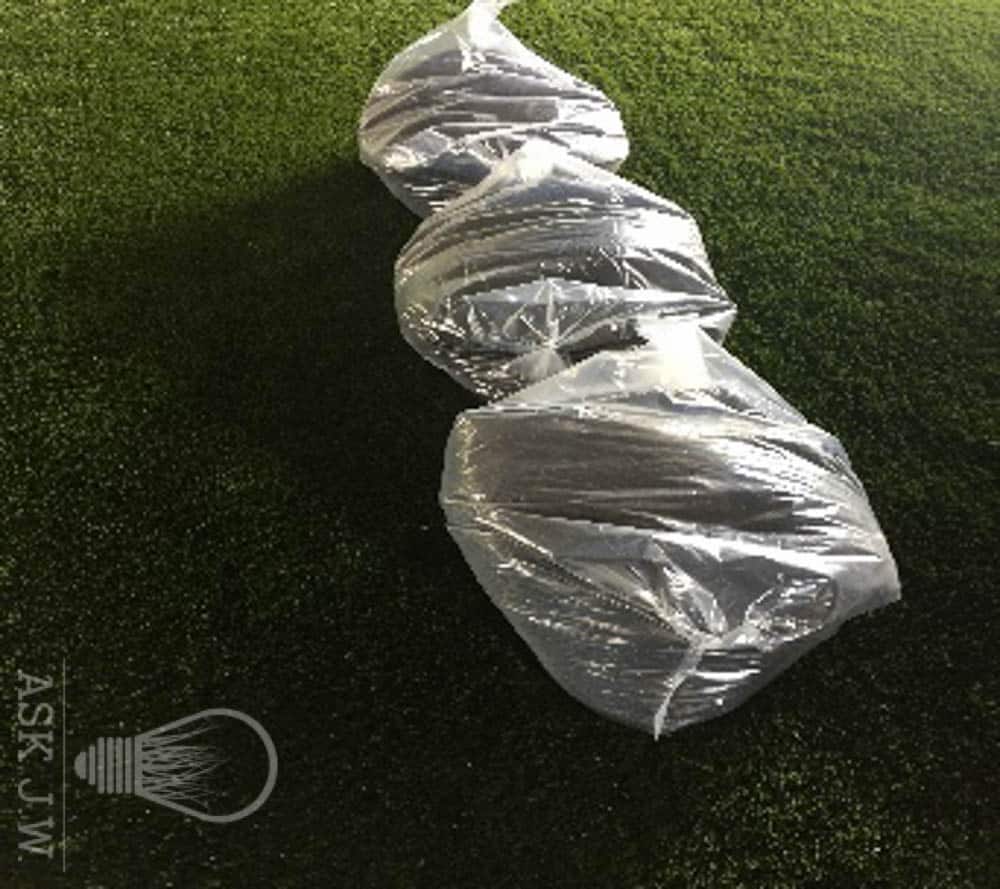
Remove the scrim from the edge of the rolls, place the first sections seam edge on the colored chalk line. Place 50 pound infill bags closely together approximately two feet away from the edge of the seam. The bags should be placed the entire length of the section that is to be seamed. This will prevent the section of turf from moving while working on section two. Take section #2 and connect it together as you would do in your normal seaming procedures. Place 50 pound infill bags closely together approximately two feet away from the edge of section #2 and the entire length of the section. Double check both sections to make sure they are ready and in position to place adhesive/glue.
Understanding Compression Force and why it is important when it comes to Adhesive/Glue
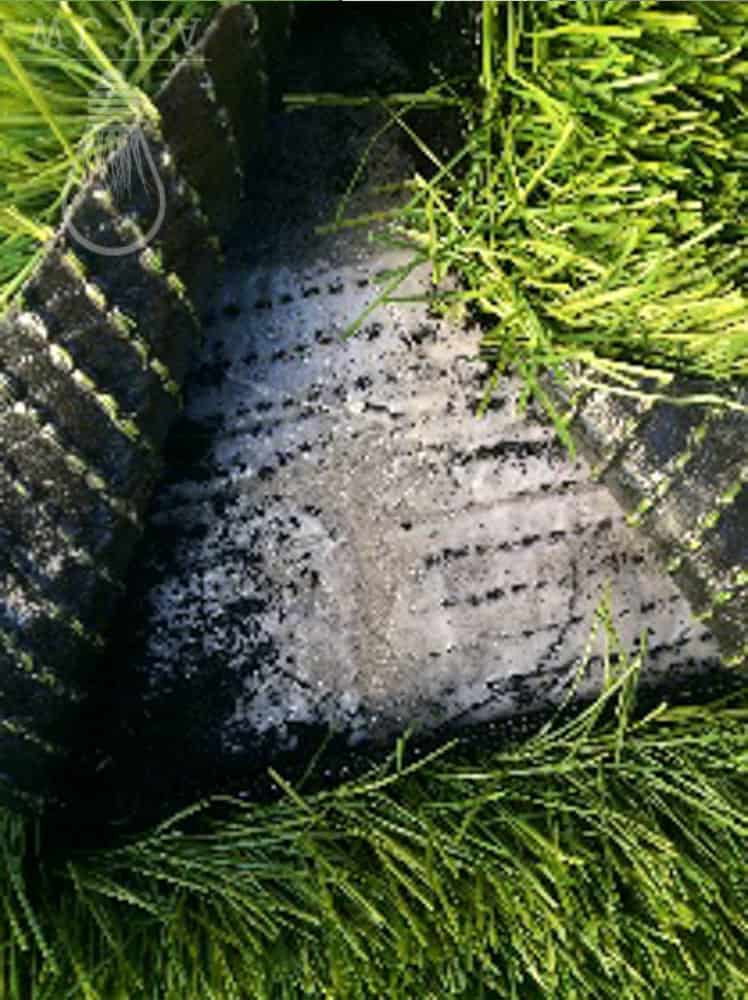
Compression Force is the application of power, pressure, or exertion against an object that causes it to become squeezed, squashed, or compacted. Synthetic turf backing is not a flat smooth surface. The gauges on the back of synthetic turf are elevated from the backing itself. Properly adhering synthetic turf to any surface requires compressive force after the adhesive/glue is applied. It is imperative that the adhesive/glue reach the backing of the synthetic turf and not just the gauges. I have seen contractors use pieces of cardboard to place synthetic turf glue and the Adhesive/Glue was placed too thin. Purchase a Superseam Adhesive Trowel at SGW or purchase a 1/8” trowel from your nearest hardware store and don’t chance future failure of your installation.
The #1 failure of adhesive/glue in the synthetic turf industry
- No compression force was applied
- Inferior Adhesive/Glue
- Lack of Adhesive/Glue or it was applied too thin
- Adhesive/Glue dried out prior to installation of synthetic turf
Placing Adhesive/Glue
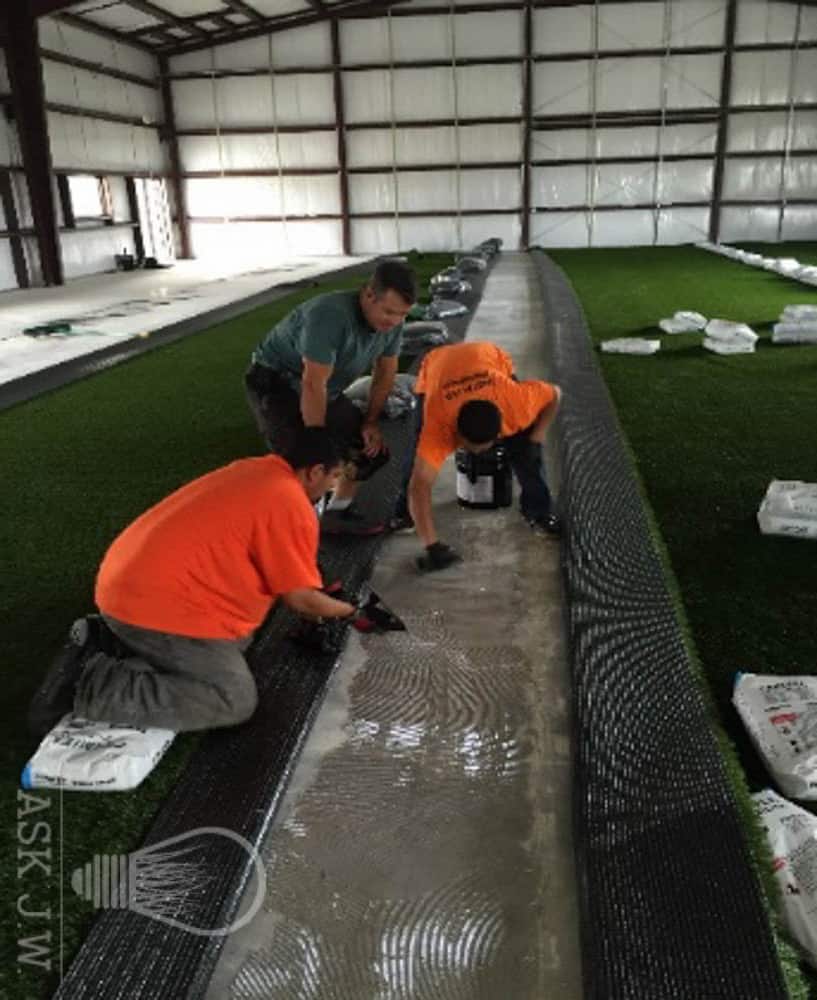
Once the first two sections are in place and the seam is secure, fold both sections #1and #2 back approximately two feet for each section. Doing this will expose four feet of the concretes surface. Using a 1/8” notched trowel, spread Superseam Pro Adhesive evenly to the exposed four foot concrete surface the entire length of the two sections. Spreading the adhesive/glue too thick will allow the adhesive/glue to come up through the seam and/or drainage holes. Depending on the surface porosity and temperature it is best to place adhesive/glue in a timely manner. If the adhesive/glue starts to dry before you can place the seam together it will cause future delamination and seam rupture. I recommend having as many men available to spread the glue. This will give your workforce enough time to connect the seam before it starts curing. Once the adhesive/glue is spread evenly, connect the two sections together and secure by placing 50 pound bags next to each other and on top of the center of the seam. Allow the bags to sit for approximately 30-45 minutes checking the seam periodically. Once the two sections are seamed together and cured, fold back section #1 until reaching the point of adhesive/glue. Place adhesive/glue on the concretes surface approximately 4’ the entire length of section. Slowly roll section #1 down on the glued surface. Use a water roller and slowly roll the top of the synthetic turf over the glued area. Follow these steps for the next 4’of glue down until you have reached the end of section #1. Do not glue past the next seam line. Fold back section #2 and repeat the steps above until you have reached the outside edge/seam of section #2. Do not glue past the next seam line. Now that section #1 and section #2 are completely glued to the concrete surface, take section #3, remove the scrim and connect to section #2. Follow the steps above and secure section #3 by placing 50 pound bags two feet away from the seam of section #3. Glue the concretes surface and place section #3 and section #2 together. Secure by placing 50 pound bags next to each other and on top of the center of the seam. Repeat these steps for all other sections that are to be connected and adhered to the concrete surface until you reach the exterior of work area.

YOU MUST WATER ROLL EVERY AREA THAT HAS BEEN GLUED TO ENSURE THE ADHESIVE IS COMPRESSED
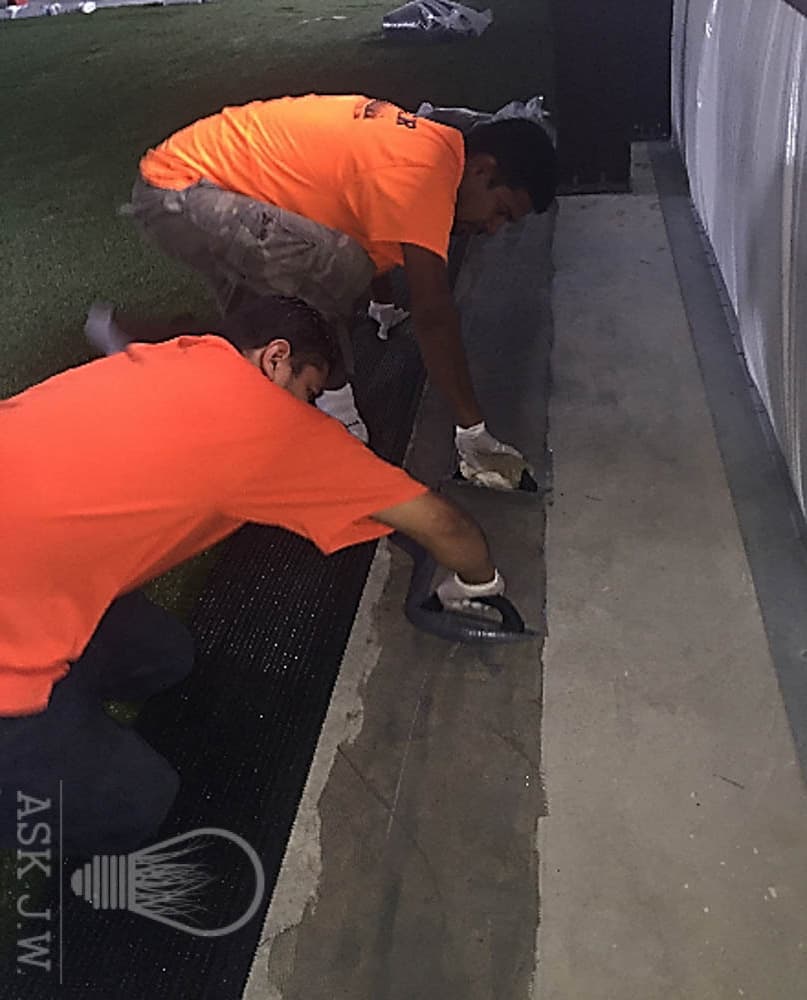
Adhering the edges are very important
When adhering synthetic turf on concrete it is very important to give attention to the outside edge line. The exterior edges are the first to fail when it comes to synthetic turf “Glue downs”. Make sure you place adhesive evenly and compress after placement.
Getting rid of wrinkles and repairing areas that are not glued
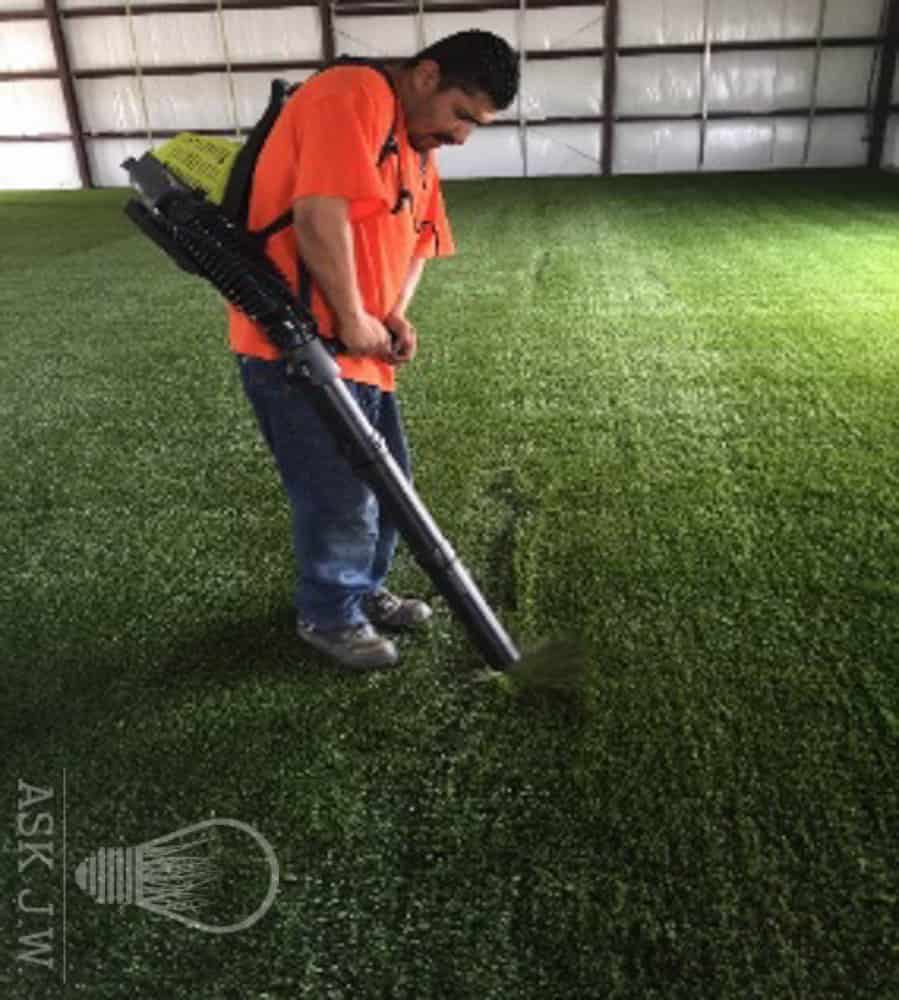
When your installation if complete, I recommend doing a “Pull Check” on all seams and edges, sometimes wrinkles will happen. If the infill is already placed and you come across any wrinkles, you must either vacuum or use a leaf blower to remove the infill prior to the repair. Remove the infill at the area to be glued, spread the fibers apart and cut a slit in the middle of the gauge. Once complete inject SGW Superseam Pro 29 ounce cartridge adhesive underneath the backing of the synthetic turf. Be careful not to get any adhesive on the fibers or place too much. After the adhesive is injected place 50 pound infill bags on repairs for 30-45 minutes. Check the repair periodically until cured.

Temperature
Exterior “Glue Down” applications require more attention than Interior “Glue Down” applications. The temperature change alone can make or break an install. The concretes surface can reach up to blistering high degrees. Adhering Synthetic turf to concrete that is above 160 degrees lessens the penetration of both the adhesive to the concretes surface and the adhesion to the backing of the synthetic turf. I recommend installing the SGW Superseam Pro adhesive early in the morning or early evening when the temperature are cooler. The lower the surface temperature the deeper the penetration and adhesion between the concrete and the synthetic turf. Cooler temperatures will also prevent out gassing. Out gassing is when air bubbles are created into the bond of the adhesive connecting the concrete with the backing. It is important to ensure all air bubbles and wrinkles are “water rolled out” as the adhesive is curing.

Maintenance
The longevity of the synthetic turf can be depleted over time due to the contaminants that lay within the fibers and backing of the synthetic turf. Moisture, urine, blood, vomit, fungus and bacteria are just to name a few. Since there is no drainage for “Interior Glue Down” applications, the synthetic turf will need to be maintained and cleaned often. I recommend using SGW Turf Fresh as needed. SGW Turf Fresh deep cleans synthetic turf and kills bacteria in urine, blood, vomit, and fungus.
For more information regarding the Gluing Synthetic Turf on Concrete contact J.W. askjw@sgwcorp.com or call 888.846.3598
Other Topics:

About SGW
Learn more about SGW

Certifications
IPEMA, Lead-Free, and CAD Details

Warranties
Our Industry Leading Warranties

Ask an expert
See if we’ve answered your questions

Media
Our tried and true steps for installation

Blog
Learn about our turf in depth
Here to help
Our Commitment
We are committed to providing the best artificial turf products at competitive prices. Our warehouse carries the most advanced synthetic grass products available, engineered to look and feel like real grass. Every turf product is made with high quality materials that are safe for everyone, especially children and pets.

Industry Leaders
SGW San Luis Obispo has always stood out among competitors, offering new products with the latest technology.

Service Oriented
The only thing better than our grass is our customer service. Our staff is committed to providing the best experience possible for our clients.

Quality Driven
At SGW San Luis Obispo we only offer products that maintains a high standard of quality. Backed by up to a 15 year warranty, the best in the industry.

